
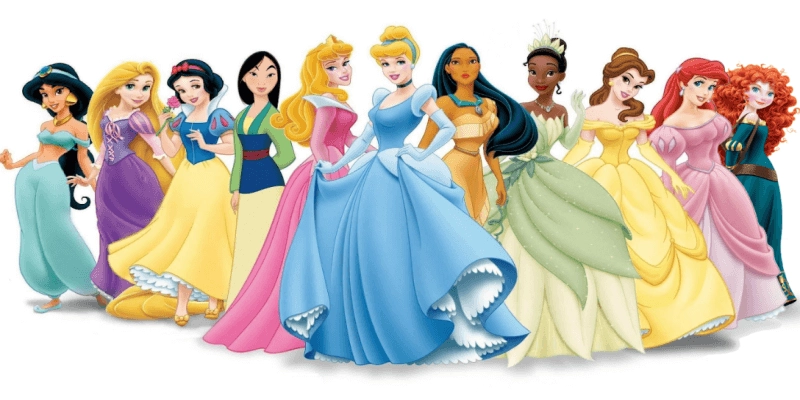
 8 Disney Princesses Hairstyle Collection-You Don't Miss
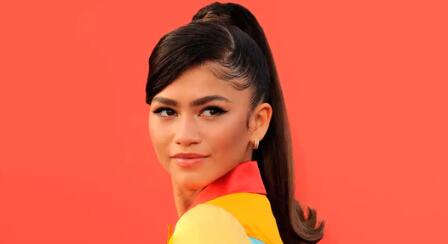 Swoop Ponytail: How do You Tie a Unique Hairstyles?
 2023 Hottest Trend: Curly Bob Haircuts
 U Part VS V Part Wigs, Which One Is Better?

