
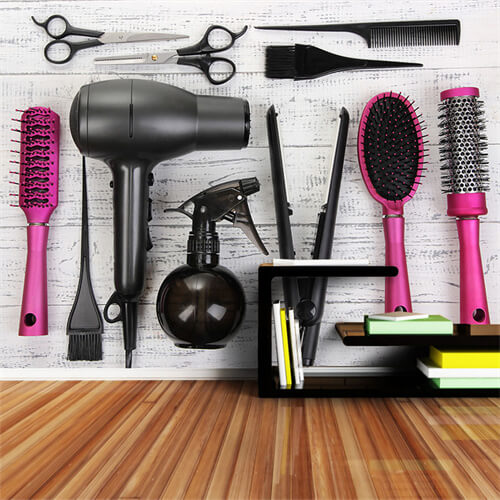
If you want to install a wig flawlessly, then you must know what are the necessary tools to install wigs, here are the tools you must know and prepare before installing a wig.
PROS
1.Strong bond adhesives cannot be denied as are the most durable. On the market, there are a variety of different adhesives in durability and strength, to provide you with full comfort of wearing. And more to the point, it can also be successfully used by those who have lost all their hair.
2.Safe for the skin - teams of experts work on the development of wig glue, ensuring that they provide maximum comfort, their ingredients are safe for the skin, and do not cause irritation, without the risk of allergies.
3.Perfect adherence - sticking the wig makes it adhere perfectly to the scalp, thus giving a maximum natural effect.
4.Easy to remove - at the end of the day, you'll be able to easily remove any glue residue from your very important scalp, and it also will give you a great wearing experience.

CONS
1.Strong bond-for unconcentrated people, it is also a great disadvantage. If you haven’t used it properly, it will cause your fingers, clothing, and scalp to stick outside the area where the wig should be adhered to.
2.Difficulties of correct application - the purpose of using wig glue is to keep the wig stably in place throughout the day. Just need to avoid wig glue in the scalp or other sticky areas during use, then you can easily solve the difficulty of application. The key is you must remember to always have a liquid to remove glue residues at your fingertips when using wig glue.
3.Risk of hair damage - If you do not properly protect your natural hair while using the glue, you may damage it.
The next part is also the most important, let's take an in-depth look at how to use the glue method to install the lace wig perfectly.
Before you wear a wig, you can wash, condition and moisturizer it. This will make it easier to comb through and look smoother. Of course, if you have an absolutely good quality wig, you can also choose to wear it directly. It also depends on your wearing habits.
Styling as desired with cornrows, braids, or a sleek ponytail and tucking your hair under the wig cap, to create a smooth flat surface for your wig to be placed on.
Using a freeze hairspray or styling gel to secure the cap in place, then blow your hairline dry to hold the cap solidly. afterward, use a pair of scissors to cut off excess lace cap fabric just above your hairline.
Wipe the skin around your hairline with topical alcohol or an alcohol pad just along the area where should be glued. This can remove skin oil and makeup residues, place your lace front wig on your head and align it properly to the shape of your head.
Using a rat-tail comb, part the hair just above your ear. Thereafter, use scissors or a razor to cut out the excess around your ear and hairline. A pro tip for applying the glue is by dotting it on the hairline or placing a thin glue line and smoothing it out. Be careful not to apply the glue on your skin but directly on the wig cap.
Use a blow dryer to blow dry your edges, until the glue looks clear and a tad bit tacky, not dry. Apply a second layer of glue and repeat this step not only for a stronger hold, but this would make it easier for the lace to melt flawlessly into your scalp. Pull the lace forward right carefully where the glue matches your hairline and press the lace into the glue. Besides, go in with the back of a comb to press down the adhesive and the unit together. Wipe off any excess glue on your forehead or hairline edges using topical alcohol.
Gently brush the baby hairs down and away from the hairline. Separate the strands creating fine, subtle swirls.For textured hair, apply Got2b gel to the baby hairs. Work the styling product into the hair, smoothing out any frizz or flyaways. use your finger to press the hair down into position and help guide the hair into a swoop-like effect.
Afterward, use a scarf or band to tie down your lace front for about 10-15 minutes. This would melt the lace perfectly. Finally, go in with a blow dryer to get everything sealed and secured. Then, you can go in with a hot comb to lay down the lace front, and design any style you want.
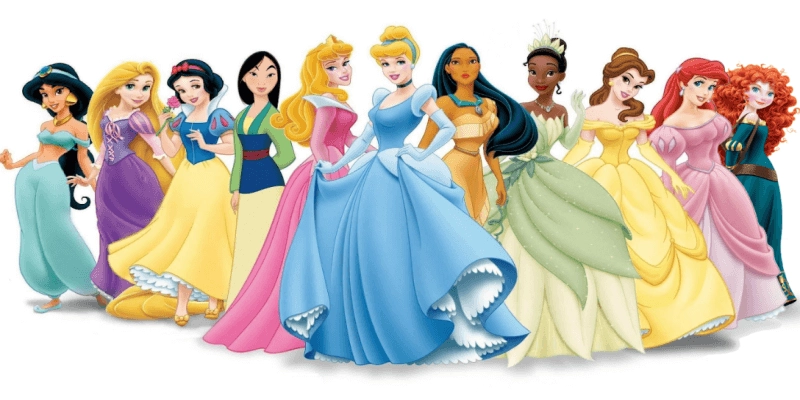 8 Disney Princesses Hairstyle Collection-You Don't Miss
 Swoop Ponytail: How do You Tie a Unique Hairstyles?
 2023 Hottest Trend: Curly Bob Haircuts
 U Part VS V Part Wigs, Which One Is Better?

